
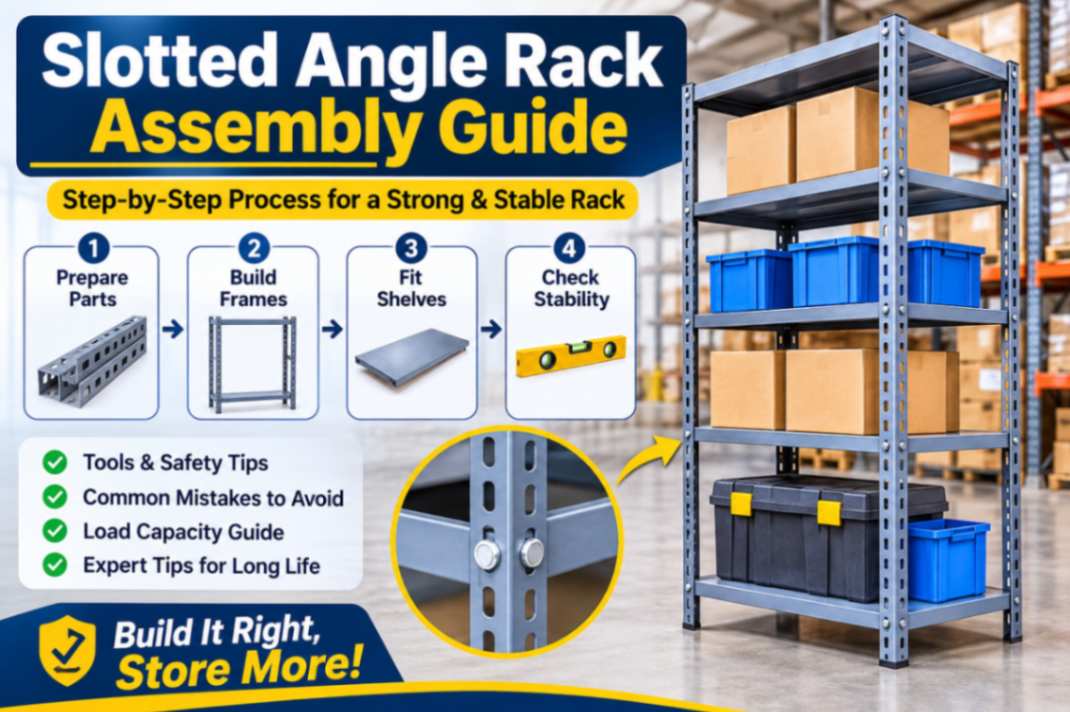
This slotted angle rack assembly guide shows you how to build a bolted rack from the first angle to the last shelf, so it stands square, carries its load, and doesn't wobble on day one. Slotted Angle Racks arrive as loose angles, shelves and nut-and-bolt packs, which is exactly why the order you assemble them in matters so much.
If you have ever stood in a storeroom with forty angles on the floor, a bag of bolts and a rack that leans like a tired tree, you know the feeling. The good news is that a slotted angle rack forgives you when you build it in the right sequence. Most wobble, twist, and sagging shelves come from three habits: tightening too early, skipping corner plates and miscounting slots.
Keep this slotted angle rack assembly guide open next to you while you work. It covers the parts you will unpack, the tools and safety gear, eight assembly steps, the mistakes that cost people an afternoon, how much weight a rack can carry, and how to keep it safe. Whether the rack is for a godown, a kirana back room or an office record room, the method is the same.
Quick answer: how to assemble a slotted angle rack
Short on time? Here is the whole slotted angle rack assembly guide in five lines.
- Plan on two people, basic hand tools and roughly one to two hours for a standard 6 ft rack the first time.
- Build the two side frames flat on the floor, fit corner plates at the corner joints, then connect the frames.
- Keep every nut and bolt finger-tight until the whole frame is square and level.
- Tighten up in order, from the base upwards, and only then fit the shelves.
- Anchor tall racks, and always put the heaviest goods on the lowest shelves.
Slotted angle rack assembly guide: parts in the box and what each one does
Part | What it does | Tip |
| Uprights (vertical angles) | Carry the load down to the floor | Keep the slots facing the same way on every upright |
| Cross angles (horizontal beams) | Join the uprights into frames and set the shelf levels | Count slots from the bottom for each one |
| Shelves (steel panels or plywood) | The surface your goods sit on | Check shelf size against bay width and depth |
| Corner plates (gussets or braces) | Triangulate each corner so the frame cannot fold sideways | Never skip these |
| Nuts and bolts (M6 or M8) | Join every joint in the frame | Use two bolts per joint |
| Flat and spring washers | Spread the clamp load and stop bolts from working loose | Spring washer goes under the nut |
| Back bracing (cross or diagonal) | Stops long, tall racks from racking front to back | Fit it on tall or long bays |
| Foot plates, end caps, levelling pads | Spread the load and protect floor and hands | Useful on tiled or uneven floors |
Before you follow the steps in this slotted angle rack assembly guide, count your nuts, bolts and corner plates against the packing list and keep a few spares. Also check the angle thickness. Racks like these are commonly made from 2.0 mm (14 gauge) or 2.5 mm (12 gauge) angle, and thicker steel generally carries more load per shelf. Always follow the load rating that comes with your own rack.
Slotted angle rack assembly guide: tools and safety gear you need
- Spanners or a ratchet socket set. Usually 10 mm and 12/13 mm, to suit M6 or M8 bolts. A ratchet is faster; finish with a spanner so you can feel the joint go firm.
- Tape measure and a marker or chalk for slot counting and floor layout.
- Spirit level and a try square to check vertical, level and right angles.
- Rubber mallet to nudge parts into place without denting the steel.
- Hacksaw and a file, only if you must cut an angle to length.
- Heavy work gloves, safety shoes and safety glasses. Cut edges and slot edges are sharp, and steel parts are heavy.
- A stepladder and a helper. Never climb the shelves to reach the top.
Slotted angle rack assembly guide: prepare the site first
Ten minutes of preparation saves an hour of rework, so this part of the slotted angle rack assembly guide is worth reading even if you are in a hurry.
- Choose a flat, dry floor and mark the rack footprint with chalk. Leave room to lift the side frames upright.
- Check overhead clearance for lights, fans and sprinkler pipes before you stand a tall rack up.
- Keep an aisle wide enough for a trolley or hand pallet truck.
- Lay the parts out on cardboard so the powder coating does not get scratched.
- Check the floor. A soft or sloping floor will undo careful assembly, so plan shims or levelling pads.
Slotted angle rack assembly guide: 8 steps to a rigid rack
Follow the steps in order. Do not fully tighten anything until Step 6.
Step 1: Plan shelf heights and mark slot numbers
Every good slotted angle rack assembly guide starts with the same question: where will each shelf sit? Decide how many shelves you need and what goes on each one. Measure your tallest carton and add room for your hand, then convert that height into slot positions. Number the slots on each upright from the bottom. Use the same slot number on all four uprights for a level shelf, then write it down or mark it with chalk.
Step 2: Build the two side frames flat on the floor
Step 2 of this slotted angle rack assembly guide is where good racks are won. Lay two uprights parallel, lining up with the rack depth. Bolt the bottom and top cross angles first, then the cross angles for each shelf level. Keep the bolt heads on the same side on every joint, so shelves sit flat later. Use two bolts per joint so the joint cannot pivot; add washers, and leave everything finger-tight. Build the second frame the same way and compare them side by side. They should be identical.
Step 3: Fit corner plates (the step that stops wobble)
Place a corner plate over the junction of an upright and a cross angle before you insert the bolts. The bolt passes through the upright, the plate and the cross angle. Fit plates at the top and bottom corners of both frames, and add them at middle levels on taller racks. Without corner plates, a bolted rectangle behaves like a parallelogram and leans sideways under load. The plate turns it into a triangle-braced frame that holds its shape.
Step 4: Stand the frames and join them
This is a two-person job. Stand one side frame upright and have your helper hold it. Join it to the second frame with the front and back cross angles at the bottom and top, then add the shelf-level cross angles. On long or tall racks, fit the back bracing now. Keep each bolt finger-tight so the frame can still move a little.
Not sure which rack size, gauge or load rating suits your stock? Compare the options in our Slotted Angle Racks Guide before you order or add another bay.
Step 5: Square and level the rack
Your rack is standing, but it probably looks slightly crooked. That is normal because the bolts are loose. Measure the two diagonals of the base and of each frame. When they match, within a few millimetres, the frame is square. Then place the spirit level on the uprights in both directions to check they are vertical. Tap the frame gently with the rubber mallet to adjust it, and slide a shim under any short foot.
Step 6: Tighten the bolts in sequence
Start at the bottom and work upwards. Tighten the base joints first, then corner plates, then the cross angles at each level, then the back bracing. Tighten until each joint is firm and does not move, but stop before you strip a thread or crush the slot edge. Check that every bolt has a nut and a washer, then measure the diagonals once more. Tightening order is the one rule in this slotted angle rack assembly guide you should never bend.
Step 7: Install the shelves
Steel panels usually drop onto the cross angles and can be bolted down for security. If you use plywood or MDF, cut it to sit inside the angles with a small gap, and use wood that is thick enough for the load. For wide spans or heavy goods, add a centre support, a piece of angle running across the middle of the shelf, so the board cannot sag. Bolt or clip shelves so they cannot slide when you load them.
Step 8: Anchor, test and label
Fix tall or narrow racks to a wall or the floor with suitable anchor bolts, because a tall rack is top-heavy once it is loaded. Add rubber pads on slippery floors. Load the rack gradually, starting at the bottom, and watch for movement. Finish by adding a label stating the safe load per shelf. This final check is the part of any slotted angle rack assembly guide that people skip, and it prevents accidents.
Slotted angle rack assembly guide: how long it takes and how many people you need
A standard 6 ft, 5-shelf rack usually takes two people roughly one to two hours the first time. Taller industrial racks, such as 10 to 14 ft units with six or more shelves, need more people, a platform or stepladder, and more care with anchoring.
Slotted angle rack assembly guide: common mistakes and how to fix them
These are the errors we see most often when people follow a slotted angle rack assembly guide too loosely.
Mistake | What happens | Fix |
| Tightening bolts as you go | The frame locks in a twisted shape | Loosen, square the frame, then tighten from the base up |
| Skipping corner plates | Rack leans sideways and wobbles | Add plates at top, bottom and middle corners |
| Counting slots wrongly | Shelves sit uneven and goods slide | Count from the bottom on every upright and mark it |
| Only one bolt per joint | Joint pivots under load | Use two bolts per joint with washers |
| Mixing bolt directions | Shelves do not sit flat | Keep bolt heads on the same side throughout |
| Overtightening | Stripped threads or crushed slots | Tighten until firm, then stop; replace damaged bolts |
| Unsupported wide shelves | Plywood sags in the middle | Add a centre support or use thicker boards |
| Leftover bolts at the end | A joint was left loose | Recount and find the missing joint before loading |
How much weight can a slotted angle rack hold?
No slotted angle rack assembly guide can give one safe number for every rack, because capacity depends on angle thickness, shelf material and gauge, span width, the number of bolts, and how the load is spread. As a guide, light-duty office racks are often rated around 50 to 150 kg per shelf, while heavier warehouse versions go up to about 250 kg per level. Your own rack’s rating is the number that counts.
- Put the heaviest goods on the bottom shelves to keep the centre of gravity low.
- Spread weight evenly across the full shelf, not in one spot.
- Do not overload a plywood shelf on a wide span. Add a centre support.
- Never climb the shelves, and never lean a loaded rack against anything.
Maintenance checklist for a long life
Your slotted angle rack assembly guide doesn't finish with the last bolt. A short routine keeps the rack safe.
When | What to check |
| Every month | Bolts tight, corner plates in place, shelves level, no bent or cracked angles |
| Every quarter | Rust or chipped coating (touch up), anchor bolts, rack still vertical and square |
| After any impact or move | Re-square the frame, retighten all joints, check for bends |
| Every year | Review loads against the rating, refresh load labels, replace worn bolts |
Moving, extending or reconfiguring your rack
The big advantage of bolted racking is that you can change it, and the steps in this slotted angle rack assembly guide work in reverse for dismantling. You can raise or lower shelves by moving cross angles to different slots, add bays beside the first one, or dismantle the rack and rebuild it in a new room. Take it apart in reverse order, bag the bolts by size and label each part so the next build goes faster.
Slotted angle vs rivet shelving vs pallet racking
Feature | Slotted angle rack | Rivet (boltless) shelving | Pallet racking |
| Assembly | Nut, bolt and spanner | Clip together, mallet | Upright frames and beams with locking pins |
| Adjustability | Any slot position, cut to size | Fixed shelf steps | Beam levels |
| Typical use | Files, cartons, parts, retail stock | Boxes, small storage | Palletised goods with a forklift |
| Load level | Light to medium | Light to medium | Heavy |
| Best when | You want a custom size you can reconfigure | You want quick, simple shelving | You store full pallets |
If your goods move on pallets, you need pallet racking. For extra floor space, consider a mezzanine floor. For cartons, files and parts, slotted angle racking gives the best mix of cost and flexibility.
DIY or professional installation?
DIY works well for a single short rack with light loads, and this slotted angle rack assembly guide is all you need to get it right. Call in a professional crew when the rack is tall, you have many bays, the loads are heavy, or you need to anchor to the floor or wall.
Sisco Steel Products supplies slotted angle racks in custom sizes and also offers installation and dismantling services. Send us your bay sizes, the models you like and how much weight each shelf must hold, and we will quote a fixed price. Call +91 7629827285, Monday to Saturday, 8 am to 6 pm.
Slotted angle rack assembly guide: frequently asked questions
How do you assemble a slotted angle rack?
Build the two side frames flat, fit corner plates, stand them up and join them, square and level the frame, tighten from the base upwards, then fit the shelves and anchor tall racks. Every step is detailed in this slotted angle rack assembly guide.
Do I need corner plates on a slotted angle rack?
Yes. Corner plates triangulate the frame and stop it racking sideways. Without them, bolted joints alone will let the rack lean and wobble under load.
What spanner size do I need for slotted angle racking?
Most racks use M6 or M8 nut-and-bolt sets, which usually take a 10 mm or 12/13 mm spanner. Check your own bolts, and use a ratchet socket to save time.
How many bolts should each joint have?
Use at least two bolts per joint so the joint cannot pivot, with a washer under the head and a washer and spring washer under the nut.
Why is my slotted angle rack wobbling?
Common causes include missing corner plates, bolts tightened before the frame was square, an uneven floor, or loose bolts. Go back to Steps 3, 5 and 6 of the slotted angle rack assembly guide: square the frame, add plates and retighten from the bottom.
Can one person assemble a slotted angle rack?
A short, light rack can be built by one careful person, but standing the side frames up and keeping them square is much safer with two. Tall racks need a team, so line up helpers before you start this slotted angle rack assembly guide.
Can I cut a slotted angle to a custom size?
Yes. Use a hacksaw, file the cut edge smooth, and touch up the coating to prevent rust. Pre-cut lengths from the supplier are cleaner and save time.
Should I anchor my slotted angle rack?
Anchor tall or narrow racks to a wall or floor so they cannot tip. Shorter racks on level floors can stand free if loaded correctly. Step 8 of this slotted angle rack assembly guide covers anchoring.
Final thoughts
Build a good rack slowly and check it often. Follow this slotted angle rack assembly guide in order: plan the slots, build flat frames, fit corner plates, square everything, tighten from the base up, then fit shelves and anchor. Do that, and your rack will stay rigid for years, whether it holds files in an office or cartons in a warehouse.
If you would rather not build it yourself, or you need custom sizes and a heavier load rating, the Sisco Steel Products team can supply and install it for you. Send us your bay sizes on WhatsApp or call +91 7629827285, and we will help you plan the layout. Come back to this slotted angle rack assembly guide whenever you move or exte